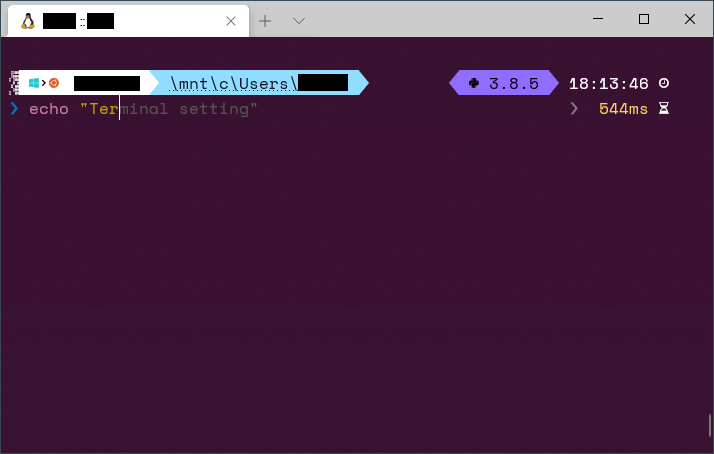
터미널을 더욱 더 유용하고 이쁘게 사용할 수 있는 프로그램을 설치해봅시다.
윈도우 터미널 설치하기
마이크로소프트 스토어에서 윈도우 터미널을 설치합니다.링크
윈도우 터미널을 이용하면 배경화면 변경같은 꾸미기 기능과 여러 명령어 창을 탭을 이용해서 한 창 위에 띄울 수 있습니다.
탭 +옆에 있는 아래 화살표를 눌러 설정을 열 수 있습니다. json파일로 되어있습니다.
1
2
3
4
5
6
7
8
9
10
11
12
{
    //폰트 설정
    "font-family": "Cascadia Code PL",
    //색상표 변경
    "colorScheme": "One Half Dark",
    //배경 반투명
    "useAcrylic": true,
    //반투명 투명도
    "acrylicOpacity": 0.9,
    //배경 사진 적용
    "backgroundImage": "C://bg.png"
}
이 외에도 여러가지 설정이 가능합니다.공식문서
터미널 기능 추가하기
Powershell(윈도우)
PsReadline을 이용한 명령어 예측 및 자동완성
Powershell의 경우 PsReadline을 이용해서 자동완성과 깃허브 단축명령어를 사용할 수 있습니다.
1
Install-Module -Name PSReadLine -RequiredVersion 2.1.0
명령어로 설치를 합니다.
1
Set-PSReadLineOption -PredictionSource History
명령어로 히스토리 기반으로 명령어를 자동완성해주는 기능을 추가합니다. 해당 명령어가 먹히지 않을 경우 C:\Program Files\WindowsPowerShell\Modules\PSReadline의 경로로 가서 2.0.0 구버전 폴더를 삭제하면 됩니다.
notepad $PROFILE을 입력해 파워쉘 프로필을 연 다음 다음 내용을 추가합니다.
1
2
3
4
5
6
7
8
9
10
11
# 기록기반 자동완성 켜기
Set-PSReadLineOption -PredictionSource History
# 자동완성 폰트색 변경 InlinePrediction = '#색상코드'
Set-PSReadLineOption -Colors @{ InlinePrediction = '#2F7004'}

# 자동완성목록 보이기
Set-PSReadlineKeyHandler -Key Tab -Function MenuComplete

# 화살표로 자동완성목록 이동
Set-PSReadlineKeyHandler -Key UpArrow -Function HistorySearchBackward
Set-PSReadlineKeyHandler -Key DownArrow -Function HistorySearchForward
& $profile을 입력해 변경된 프로필 설정을 불러올 수 있습니다.
다음과 같이 나오면 성공입니다.
posh-git을 이용한 깃허브 단축 명령어
Install-Module posh-git -Scope CurrentUser 명령어로 설치 후
notepad $PROFILE 명령어로 프로필을 연다음
Import-Module posh-git을 추가하면 됩니다.
리눅스
zsh, oh-my-zsh 을 이용한 터미널 기능 추가
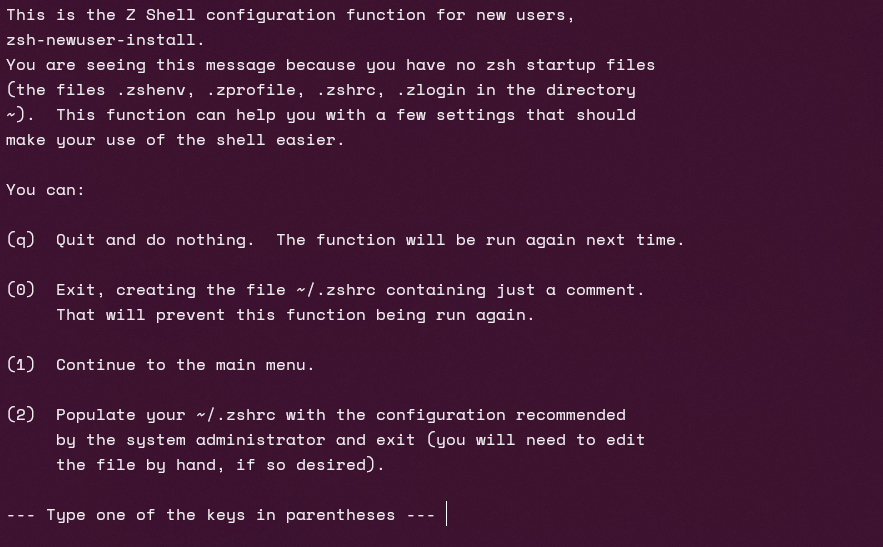
우리가 쓰는 프로그램 명령어를 입력받는 창을 쉘이라고 합니다. 리눅스의 기본 쉘은 bash인데 zsh는 bash의 명령어와 호환되면서 여러 플러그인을 지원하는 쉘입니다. 대부분 기능에서 zsh가 더 좋습니다. Oh-my-zsh는 zsh를 쉽게 관리하게 해주는 프로그램입니다.
1
2
sudo apt install -y zsh
chsh -s $(which zsh)
명령어를 이용해 zsh를 설치하고 쉘을 zsh로 바꿔줍니다.

sh -c "$(curl -fsSL https://raw.githubusercontent.com/ohmyzsh/ohmyzsh/master/tools/install.sh)"
을 입력하면 oh-my-zsh설치가 완료됩니다.
플러그인 설치하기
zsh-autosuggestions 을 다음 명령어로 설치해 자동완성 기능을 사용할 수 있습니다.
1
git clone https://github.com/zsh-users/zsh-autosuggestions ${ZSH_CUSTOM:-~/.oh-my-zsh/custom}/plugins/zsh-autosuggestions
zsh-syntax-highlighting 을 다음 명령어로 설치해 명령어의 구문을 다른 색으로 강조할 수 있습니다.
1
git clone https://github.com/zsh-users/zsh-syntax-highlighting.git ${ZSH_CUSTOM:-~/.oh-my-zsh/custom}/plugins/zsh-syntax-highlighting
해당 플러그인들을 설치했으면 ‘vi ~/.zshrc’명령올 zsh설정파일을 연 다음 plugins를 찾아서 다음과 같이 추가해줍니다.
1
2
3
plugins=(git
  zsh-syntax-highlighting
  zsh-autosuggestions)
git은 git단축키 프로그램으로 기본으로 깔려있습니다. source ~/.zshrc을 입력하면 zsh설정파일을 다시 불러와 적용할 수 있습니다.
Oh-my-Posh 설치하기
Oh-my-Posh는 터미널 테마를 꾸밀 수 있는 크로스플랫폼 프로그램입니다. 보통 폰트에는 사용되지 않는 기호가 사용되서 Nerd Fonts 해당 폰트를 다운받아 사용해야 깨지는 글자가 없이 나옵니다.
Powershell
Install-Module oh-my-posh -Scope CurrentUser
``` 명령어로 설치할 수 있습니다.

```sehll
Get-PoshThemes
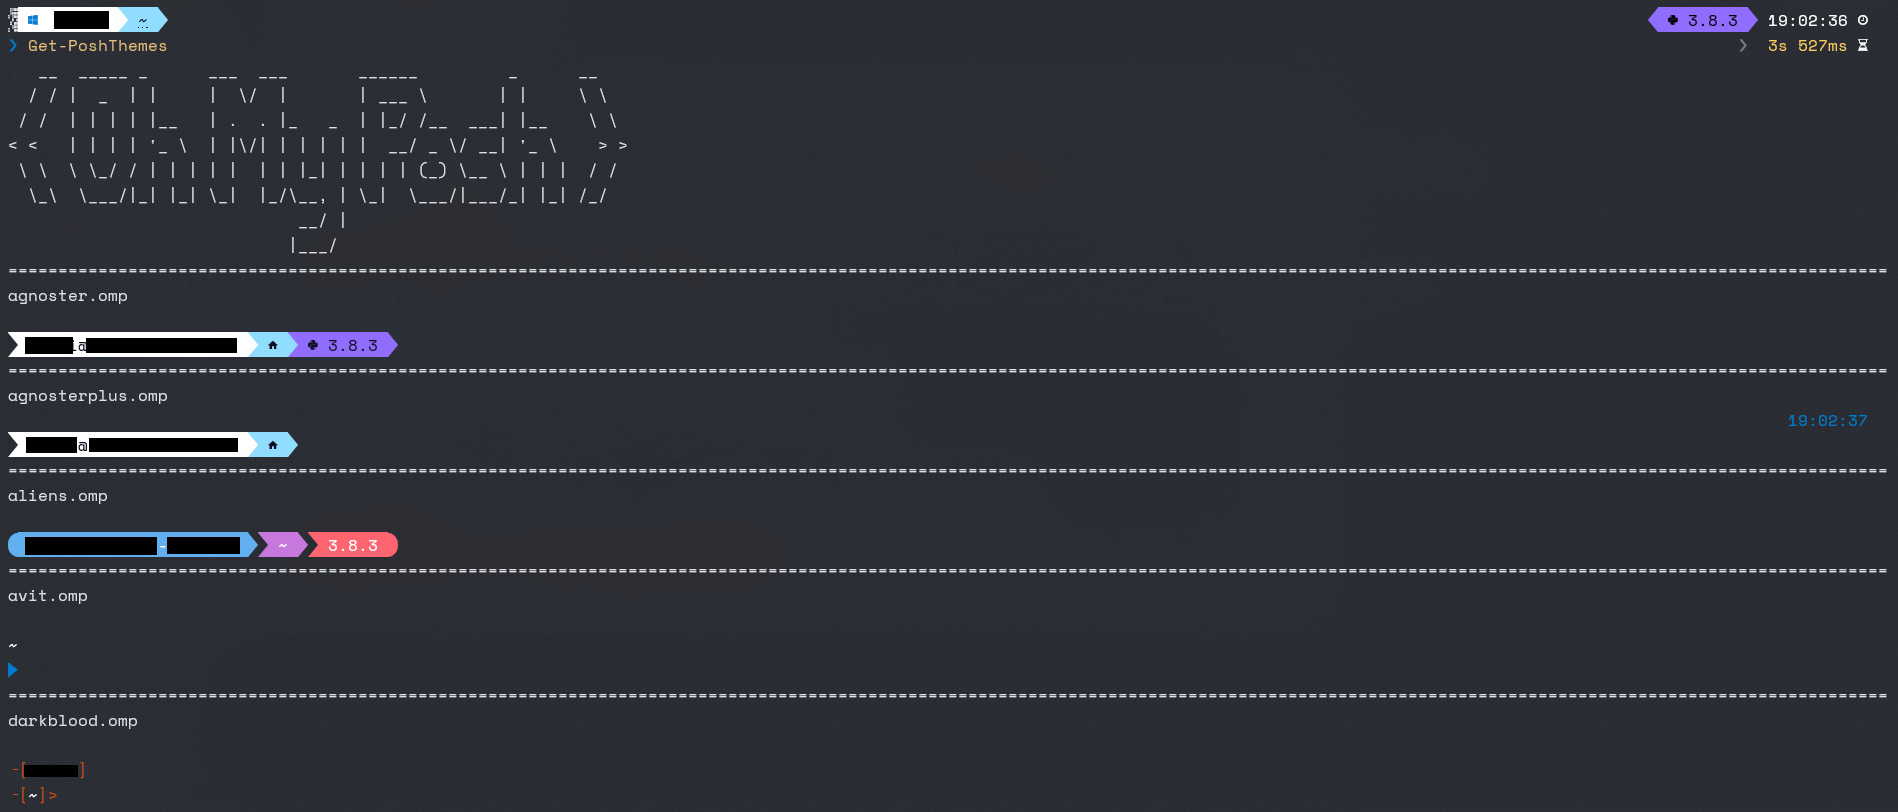
을 이용해서 기본 제공되는 테마를 살펴볼 수 있습니다. Oh-my-Posh 첫부분에 있는 사진처럼 나옵니다.
notepad $PROFILE 으로 파워쉘 설정 파일을 연다음
1
Set-PoshPrompt -Theme jandedobbeleer
-Theme {테마이름}으로 테마를 변경할 수 있습니다.
ZSH
1
2
wget https://github.com/JanDeDobbeleer/oh-my-posh/releases/latest/download/posh-linux-amd64 -O /usr/local/bin/oh-my-posh
chmod +x /usr/local/bin/oh-my-posh
명령어로 설치 후
1
2
3
4
5
mkdir ~/.poshthemes
wget https://github.com/JanDeDobbeleer/oh-my-posh/releaseslatest/download/themes.zip -O ~/.poshthemes/themes.zip
unzip ~/.poshthemes/themes.zip -d ~/.poshthemes
chmod u+rw ~/.poshthemes/*.json
rm ~/.poshthemes/themes.zip
명령어로 테마를 다운로드합니다.
1
for file in ~/.poshthemes/*.omp.json; do echo "$file\n";oh-my-posh --config $file --shell universal; echo "\n"; done;
명령어로 기본 제공되는 테마를 살펴볼 수 있습니다. Oh-my-Posh 첫부분에 있는 사진처럼 나옵니다.
~/.zshrc파일에 다음과 같이 추가합니다.
1
eval "$(oh-my-posh --init --shell zsh --config ~/.poshthemes/jandedobbeleer.omp.json)"
source ~/.zshrc 로 oh my phsh를 적용합니다. --config ~/.poshthemes/{테마 이름}.omp.json으로 테마를 바꿀 수 있습니다.
커스텀 테마
기본 제공되는 테마 파일과 공식 문서를 참조해서 입맛대로 테마를 만들 수 있습니다. Powershell의 경우 -Theme {테마경로} zsh의 경우 --config {테마경로}로 커스텀 테마를 적용할 수 있습니다.


